- Check for file/folder permissions
- Boot into Safe Mode
- Copying & Pasting
- Enable System Restore
- Take a screenshot
- Repair Windows with SFC or DISM
- Using System Restore (Normal Mode)
- Using System Restore (Recovery Mode)
- Perform a Clean Boot
- Show Hidden Files and Folders
- Install/remove “Take ownership”
- Create a Desktop Shortcut
- Unblock a file blocked by SmartScreen
- Allow software installation from any source on Windows 10/11
HOW TO ADD AND REMOVE A CONTEXT MENU OPTION TO TAKE OWNERSHIP OF FILES OR FOLDERS
- Download the Registry file InstallTakeOwnership (use the middle mouse button), and save it to a convenient location.
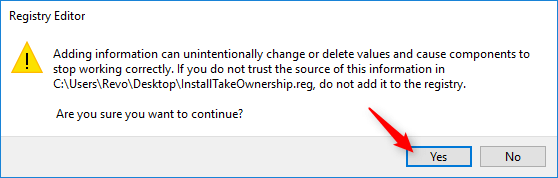
- Double click the file, and grant administrator privileges if you see a UAC prompt. Then click Yes (to agree to merge the contents of the file).
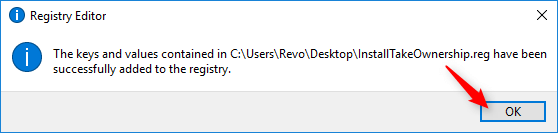
- Then click OK to confirm.

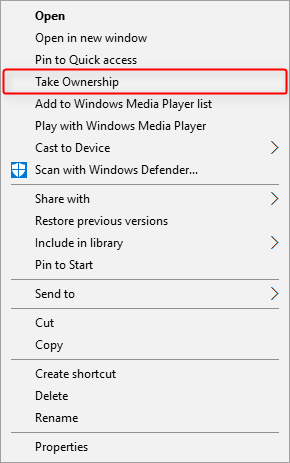
- That’s it. No reboot is required. Now you will have an option “Take Ownership” in the context menu (right click menu) for certain files and all folders.To KnowFor Windows 11, this option will appear in the classic context menu that appears after selecting “Show more options” in the default context menu.

To Know
To remove this option from the context menu, repeat the instructions above but use the Registry file RemoveTakeOwnership.