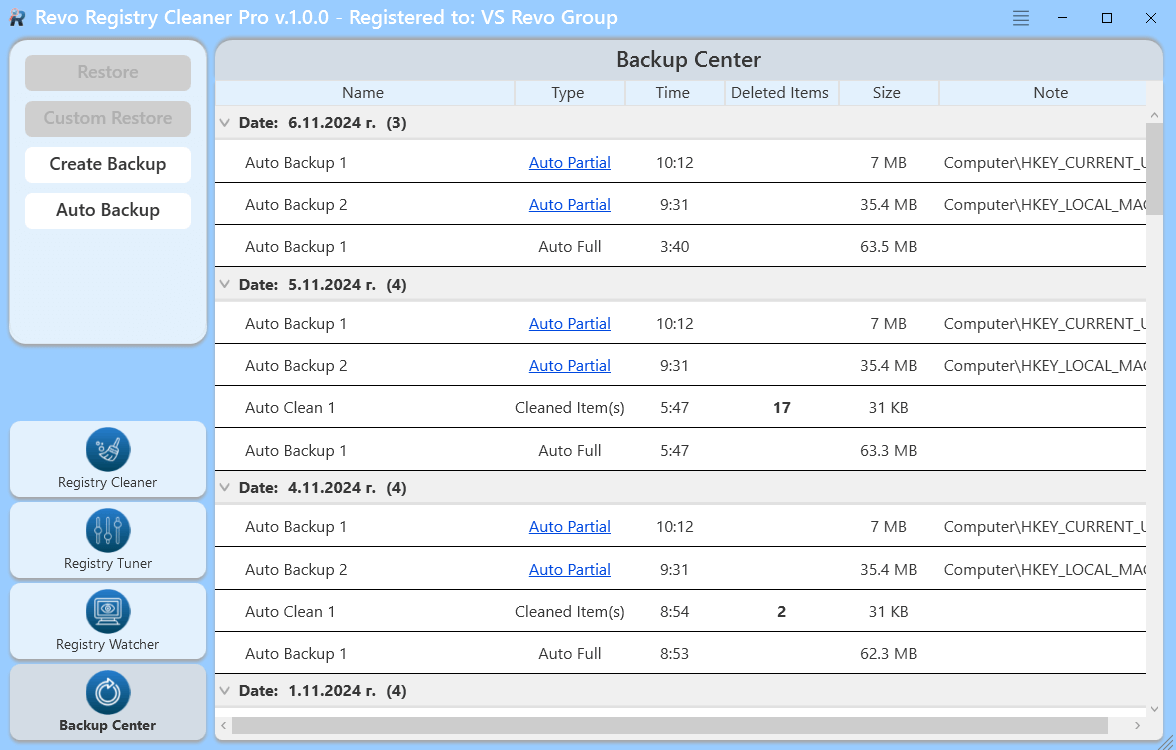
The Backup Center module lets you create and manage different types of Registry backups done during operations of the Revo Registry Cleaner or intentionally by you. You can start it with a click of the lowest modules button in the Command Panel. Its main screen shows sorted by date all made backups with their properties.
From the Command Panel, you can create a new partial or full Registry backup by clicking on the Create Backup button. It opens a window to choose the name of the backup, to write a note if you want, and use the check mark “Backup Whole Registry” to choose to backup the whole Windows Registry or backup a specific key. If you choose to backup a specific key you are shown the Registry tree and keys that can be backed up are in black, the ones that are not allowed are in gray font color.
You can automate the process of creation of backups of your Registry using the command Auto Backup from the Commands Panel on the left. Once the command is executed you are shown a window divided into two parts. The left part shows a list of saved scheduled Auto Backups and the right part allows you to create and save a scheduled Auto Backup with different parameters, based on your needs. Every saved scheduled Auto Backup has a Name, you may write a Note and adjust if the clean operation is to be Daily at a specific time, Weekly at a specific day of the week, or Monthly at a specific date of any month. Using the check mark “Backup Whole Registry” You can choose to backup the whole Windows Registry or backup a specific key. If you choose to backup a specific key you are shown the Registry tree and keys that can be backed up are in black, the ones that are not allowed are in gray font color. Once the button Save is clicked the Auto Backup is saved and listed in the left part of the Auto Backup window. To Edit already saved and listed Auto Backups, just select it from the list, and from the right part of the window, all parameters can be edited and re-saved. To Delete an Auto Backup select it from the list and click the “-” button in the lower-left corner of the window.
While your computer is running after a successful Auto Backup you will be shown a small notification that appears in the lower-right part of the desktop window for a few seconds to notify you which Auto Backup operation has successfully completed.
Navigating in the list of done backups you can choose to restore all data from a backup by selecting it and using the “Restore” button from the Commands Panel or just a part of it using the “Custom Restore” button from the Commands Panel. To restore whole data select it from the list and click the Restore button on the top of commands panel. To restore only part of the data backed up in that backup, select it and click Custom Restore. That will open a list of Registry entries, which you can choose from, the ones you wish to be restored. Click on the “Restore” button to complete the process.
Using the context menu is another way to execute “Restore” and “Customs Restore” commands, and also to delete one backup using the “Delete” command or all using “Delete All“