When using Windows, encountering error messages can be a frustrating experience. One such error that often perplexes users is the dreaded “Class Not Registered” error. This error message can appear in various scenarios, disrupting your workflow and leaving you searching for a solution. In this article, we will delve into the meaning behind the “Class Not Registered” error and provide you with troubleshooting steps to resolve it.
Understanding the “Class Not Registered” Error
The “Class Not Registered” error typically occurs when a program or application is unable to find or access a specific DLL (Dynamic Link Library) file or COM (Component Object Model) component required for its proper functioning. This error message suggests that the particular class or component referenced by the application is not registered or not present on the system.
Common Causes of the Error
- Corrupted or missing DLL files: The absence or corruption of essential DLL files can trigger the “Class Not Registered” error.
- Registry issues: Invalid or damaged registry entries associated with the class or component can also lead to this error.
- Application conflicts: Conflicts between applications or incompatible software installations can disrupt the registration of necessary classes and cause the error to appear.
So what are the steps to fix the “Class Not Registered” error
Run System File Checker (SFC) and Deployment Image Servicing and Management (DISM)
These built-in Windows utilities scan and repair corrupted system files, including DLL files.
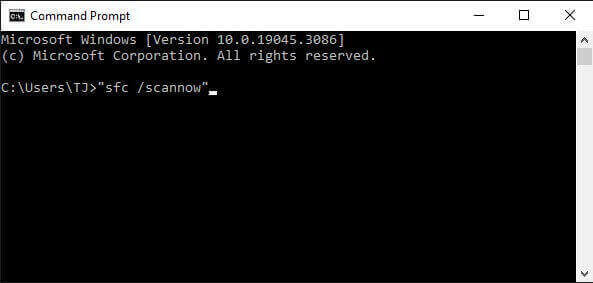
- Open Command Prompt as an administrator
- Enter the commands “sfc /scannow”

- The next step is to enter the “DISM /Online /Cleanup-Image /RestoreHealth” command.
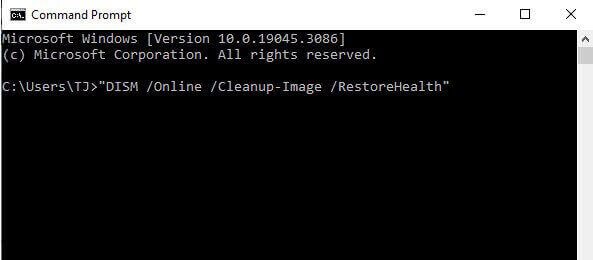
- Let the process complete, and then check if the error persists.
Force Close and Reopen File Explorer
- Right-click on the “Start” menu icon and select “Task Manager.”
- In the Task Manager window, locate “Windows Explorer,” right-click on it, and choose “Restart.”
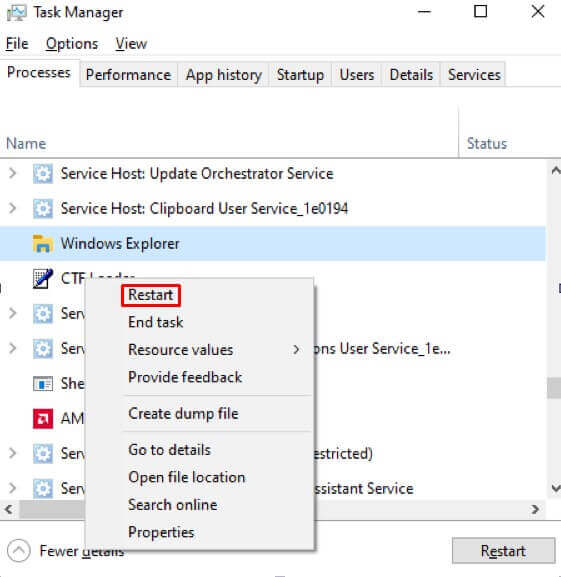
- From the menu options, select “Restart.”
- File Explorer will promptly close and then automatically reopen.
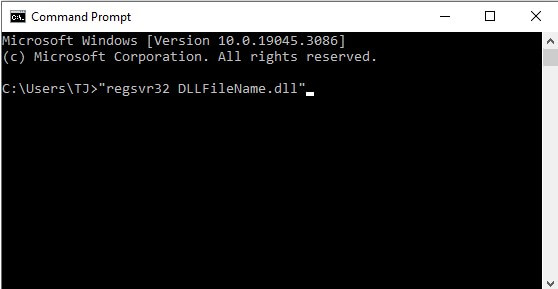
Re-register DLL files
If the error is related to a specific DLL file, you can try re-registering it using the Command Prompt. Open Command Prompt as an administrator and type “regsvr32 DLLFileName.dll” (replace “DLLFileName.dll” with the name of the DLL causing the error). Press Enter and check if the issue is resolved.
Reset Windows default apps
If you encounter the “Class Not Registered” error when launching File Explorer, the problem may be related to one or more of your default apps. In such cases, resetting all default apps can often resolve the issue.
For Windows 11 users, follow these steps:
- Open the Settings app.
- Navigate to “Apps” and click on “Default Apps.”
- Look for the option “Reset All Default Apps” and click on “Reset.”

- A prompt will appear asking for confirmation. Click “OK.”
For Windows 10 users, follow these steps:
- Open the Settings app.
- Go to “Apps” and click on “Default Apps.”
- Scroll down to the “Reset to the Microsoft Recommended Defaults” section.
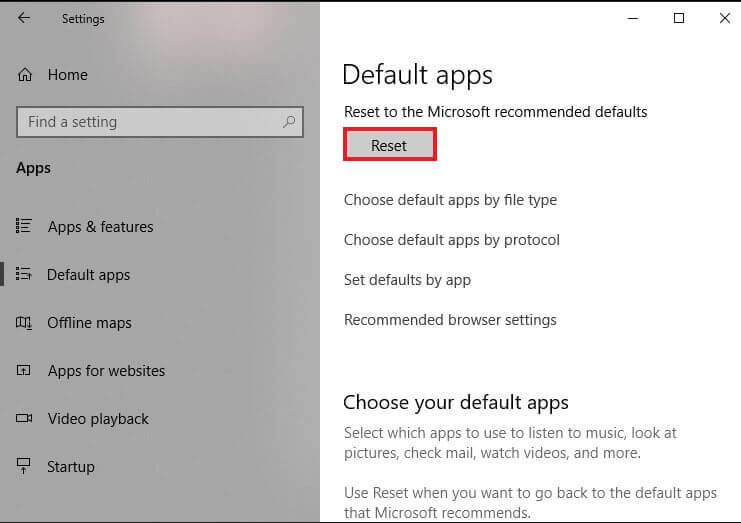
- Click on the “Reset” button.
After resetting the default apps, try launching File Explorer using the Windows+E keyboard shortcut, and it should now function properly.
Perform a system restore
If the error recently started occurring, performing a system restore to a previous point when the error was not present might help. Access the System Restore utility through the Control Panel or by searching for “System Restore” in the Start menu.
We’ve covered in-depth how to perform Windows “System Restore” in this article here
Re-Register Your Microsoft Store Apps
- Open the “Start” menu.
- Locate “PowerShell” and right-click on it.
- Select “Run as Administrator” from the context menu.
- When the “User Account Control” prompt appears, click “Yes” to grant the necessary permissions.
- Once you have the PowerShell window open, enter the following command and press Enter:Get-AppxPackage -allusers | foreach {Add-AppxPackage -register “$($_.InstallLocation)\appxmanifest.xml” -DisableDevelopmentMode}
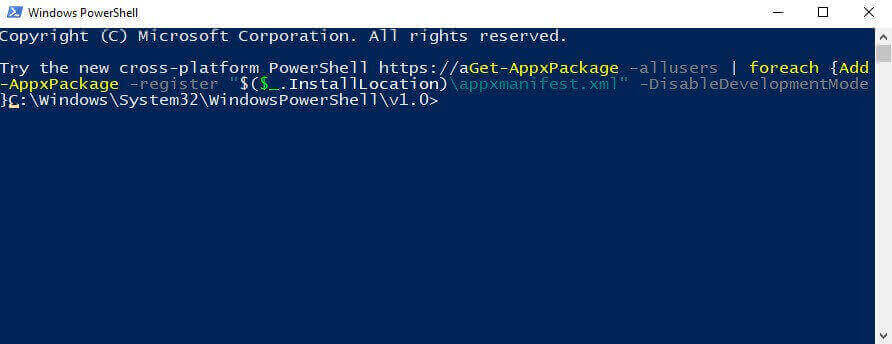
This command will re-register all your Store apps for all users on your PC.
Allow the process to complete, which may take a few moments. Once done, try launching the Microsoft Store app that previously triggered the error, and it should now open without encountering the “Class Not Registered” error.
Reinstalling and re-registering Store apps can help resolve various issues, ensuring smooth functionality and a hassle-free experience when using Microsoft Store apps.
Check for application conflicts
Uninstall any recently installed applications or updates that might be causing conflicts with the program displaying the error. Restart your computer after uninstallation and check if the error persists.
Update or reinstall the problematic application
Ensure that you have the latest version of the application encountering the error. Visit the developer’s website or use the built-in update functionality of the software. If the error persists, consider uninstalling and reinstalling the application to resolve any potential issues.
Perform a clean boot
A clean boot starts Windows with minimal startup programs and services, which can help identify and eliminate software conflicts. Follow the steps outlined in the Microsoft support documentation to perform a clean boot.
Conclusion
Encountering the “Class Not Registered” error on Windows can be a frustrating experience, but with the troubleshooting steps outlined above, you should be able to resolve the issue. Remember to carefully follow each step and create a system restore point before making any significant changes to your system. If the error persists or you are unsure about performing certain actions, it is advisable to seek assistance from a qualified technician or the software’s support team.
2 Comments
works thank you very much
Me funciono!!!