The Windows Registry is like the control center of your operating system, governing various aspects of its behavior. As you install, uninstall, and use programs, the registry can accumulate a large number of registry entries, including references to files and settings that are no longer relevant. This accumulation can lead to several issues, including:
- Reduced Performance: A bloated registry can slow down your Microsoft Windows system performance as it has to sift through unnecessary entries to find the ones it needs
- System Errors: Invalid or corrupt registry keys and entries can cause system errors, crashes, and instability.
- Startup Delays: An overloaded registry can slow down your computer to boot up as it processes unnecessary entries during startup.
- Fragmentation: Like files on your hard drive, the registry files can become fragmented over time, leading to further performance degradation.
When to Perform a Windows Registry Cleanup:
Determining when to perform a registry cleanup depends on various factors, including how frequently you install or uninstall new programs on your PCs, how often you make system changes, and how old your system is. Here are some scenarios where performing a cleanup is advisable:
- After Uninstalling or Reinstalling Programs: Whenever you install or uninstall a program via the Control Panel/Installed Apps from your Windows PC, dozens of registry remnants of the uninstalled software may remain. Performing a cleanup after uninstalling software can help remove these leftover entries and prevent registry issues.
- Periodically: Regular maintenance is key to keeping your system running smoothly. Consider performing a registry cleanup every few months, especially if you notice any signs of performance degradation or system errors.
- Before/After Major System Changes: If you’re about to make significant changes to your Windows 10 and Windows 11(or any other older version of Windows), such as upgrading hardware or installing a major Windows update, performing a registry cleanup beforehand can help ensure a smoother transition. Similarly, doing a cleanup after such changes can tidy up any leftover registry clutter
How to Keep Clean Registry:
Before diving into the cleanup process, it’s crucial to take some precautions to avoid inadvertently causing harm to your system. Here’s a step-by-step guide to safely perform a Windows Registry cleanup:
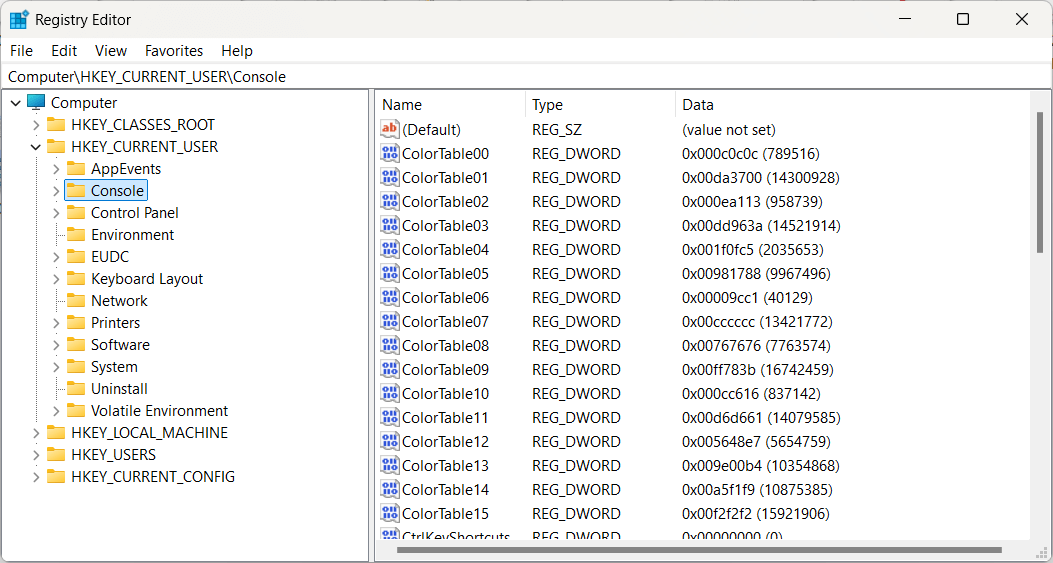
- Backup Your Registry: The Registry stores information for your system, so before you delete any registry or make changes, it’s essential to create a backup. This way, if anything goes wrong during the registry cleanup process, you can restore your registry to its previous state. To perform registry backup, type “regedit” in the Windows search bar to open the Registry Editor to access the registry settings, then navigate to File > Export and save the backup file to a secure folder. You can also use Revo Registry Cleaner’s very own Backup Center to ensure that your registry data is saved.
- Use Reliable Registry Cleaning Software: While it’s possible to manually clean the registry by using the Registry Editor, it’s safer and more convenient to use dedicated registry cleaning software to detect invalid registry entries. There are several reputable programs available that can scan your registry for errors and safely remove obsolete entries. Some utility software options that you can use are Revo Registry Cleaner, CCleaner, Wise Registry Cleaner, and Auslogics Registry Cleaner. By using the registry cleaner of your choosing, you are making sure that the functionality of your computer won’t be affected.
- Scan for Issues: Once you’ve installed your chosen registry cleaning tool, scan the registry to identify any invalid registry keys. The registry cleaner could categorize detected problems, such as invalid entries, broken shortcuts, and missing file associations.
- Review Scan Results: Before proceeding with the cleanup, carefully review the scan results to ensure that the software has identified invalid computer’s registry and registry errors. Avoid blindly accepting all suggested fixes, as removing certain registry entries could potentially cause problems with your system or installed programs.
- Perform Cleanup: Once you’re confident in the scan results, proceed with cleaning up the registry. Most registry cleaning software will provide an option to fix registry or remove the identified issues with a single click. Allow the software to complete the cleanup, which may involve restarting your system to finalize the changes.
- Verify System Stability: After the cleanup is complete and your system has restarted, take some time to ensure that everything is functioning correctly. Test various programs and system functions to verify that the cleanup hasn’t caused any adverse effects.
Conclusion:
Performing regular cleanup of the Windows Registry is a vital aspect of system maintenance, helping to optimize performance, enhance stability, and prevent errors. By understanding why and when to clean your registry and following best practices for the cleanup process, you can keep your system running smoothly and efficiently for years to come. Remember to always proceed with caution when making changes to the registry or deleting registry keys and to back up your data beforehand to mitigate any potential risks. In case you are not very familiar with how to clean your Windows Registry, you can always use third-party registry cleaners such as our very own Revo Registry Cleaner.
1 Comment
love the software i brought the pro edition and it’s def worth the money! i brought the Reg Cleaner and the Pro Uninstaller both Amazing great Products! helped my computer get rid of alot of things now my PC runs so dang smooth!