
Running low on drive space on your PC can lower your computer’s performance significantly. As your drives fill up with various files, your compter’s speed will slow down. This will affect all the daily activities that you perform – web browsing, streaming videos or simply checking your email.
But don’t fret! If you are running Microsoft Windows 11, you have an easy way out of this situation.
Windows 11 has several neat settings that you can use to get rid of temporary and system files or any other files that can fill up your storage space. Note that your important files will be safe as Windows 11 helps you decide what you need to delete to improve the performance of your computer.
How to automatically free up drive space in Windows 11
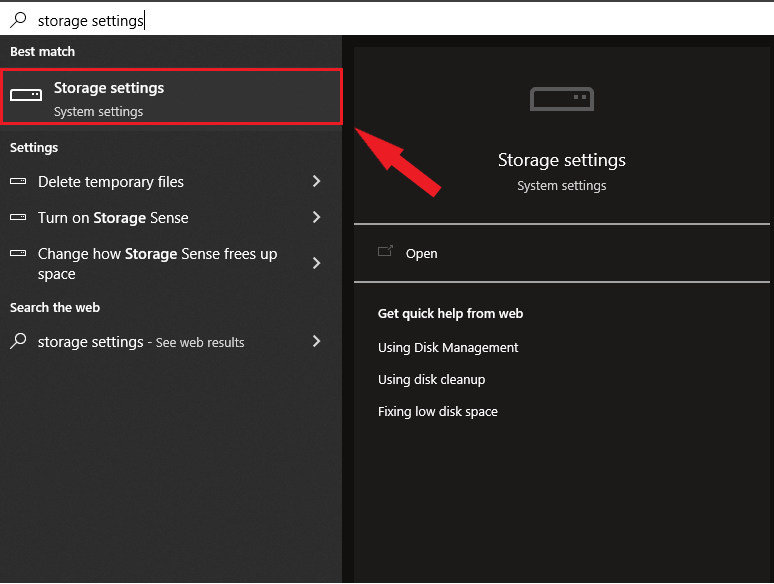
- Press Win Key + S to open the Windows search and type Storage Settings and click on it.

- Click on Storage
If this is the first time you go into your Storage settings, it will take several seconds for your PC to analyze your stored data. You will get full information about your files on your PC such as temporary files, apps and features, and others.
- Turn ON the Storage Sense. By enabling this feature, your PC will automatically begin deleting temporary files, old downloads, and emptying your recycle bin when it is running low on space.
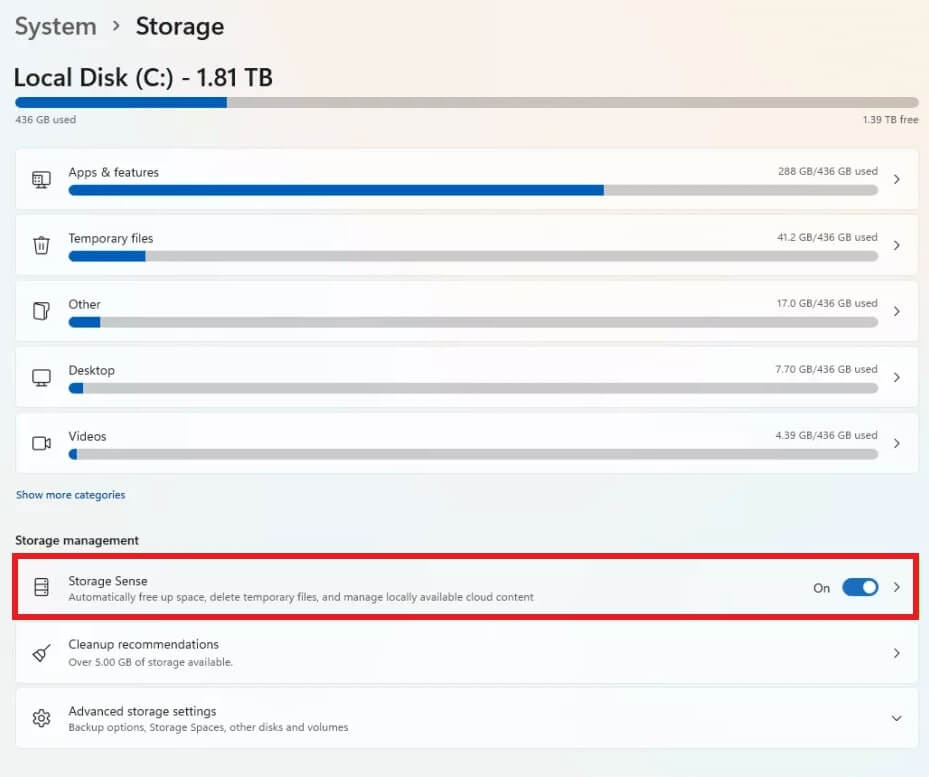
When you turn on Storage Sense you will see a few more options. As we mention in the introduction, these options will help you determine which files are important, so you do not lose important information.
How to manually free drive space after you upgrade to Windows 11
The good old Disk Cleanup utility can also be a reliable tool to free up drive space occupied by Windows backup and other temporary files.
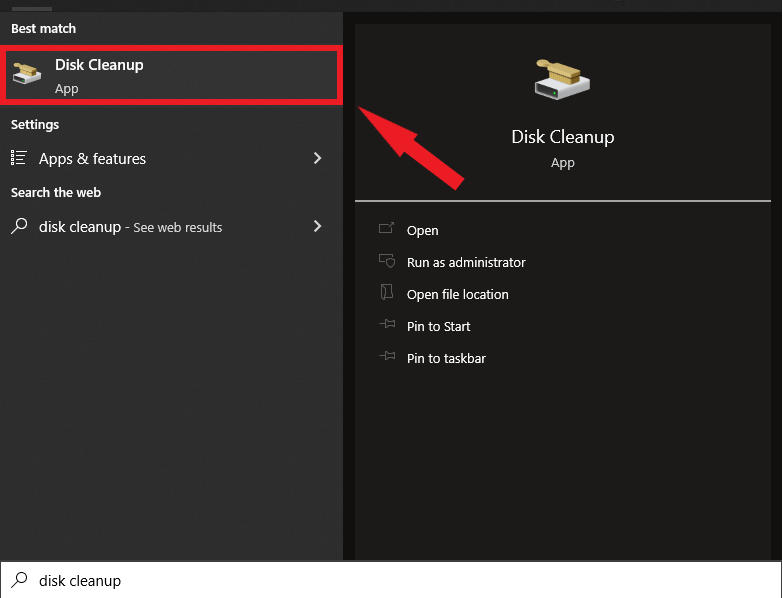
- Press Win Key + S to open the Windows search.
- Type in the field disk cleanup and click on the app from the search results.
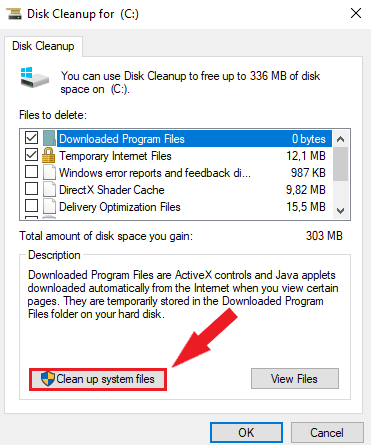
- Select the drive you want to scan. In 99% of the cases, it is drive C: where most of the temporary and junk files are stored.
- Click the Clean up system files button.
- Select the same system drive and click OK.
- Select Windows Update Cleanup and Previous Windows Installation options if available.
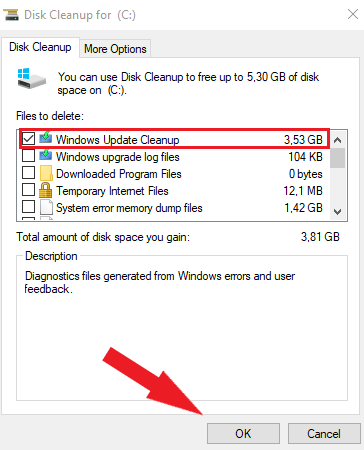
- Click OK and then click Delete Files to confirm the action. Make sure you are deleting the correct files. This is a permanent action and it will permanently delete all the files you’ve selected.
Free up drive space with Revo Uninstaller Pro
The most common culprit of a full hard drive is the big number of apps and software installed on your computer.
Revo Uninstaller is one of the most reliable products when it comes to removing unwanted programs and deleting all leftovers which usually fill up your drive space.
You can check our article on how you can delete the software you are no longer using and it is filling up your disk space.
Summary
Performing a routine cleanup task can help you remove junk files that you have no use for and reclaim a ton of precious storage space. Enabling Storage Sense is an easy way to make sure that old temporary and junk files are removed from your hard drive and do not take extra space.
No Comments