If your PC gets a critical error(such as Blue Screen of Death(insert why my computer freezes link)) on Windows 10, the system creates a file called memory dump file. These files store data that contains information on why exactly did the critical error happen. It can help you to diagnose and determine the reason behind your problem.
The system error dump files can be very useful in situations where you plan to explore why you are getting errors on your PC or you plan to send them to the Microsoft support team for analysis. If that is not the case they are just wasting space on your hard drive. They can become as large as the total physical memory, and they will continue to grow larger over time.
In case you are running out of space on your PC(insert how to uninstall programs with Revo), or your problem is resolved, there are several methods that you can use to delete memory dump files on Windows 10
Methods to delete memory dump files Windows 10:
- Delete system error dump files with Revo Uninstaller Pro
- Clean system error dump files with Disk Cleanup
- Remove system error dump files with Windows Settings
- Erase system error dump files with Command Prompt
- Delete dump files from the File Location
- Turn off Crash Dumps
Delete system error dump files with Revo Uninstaller Pro
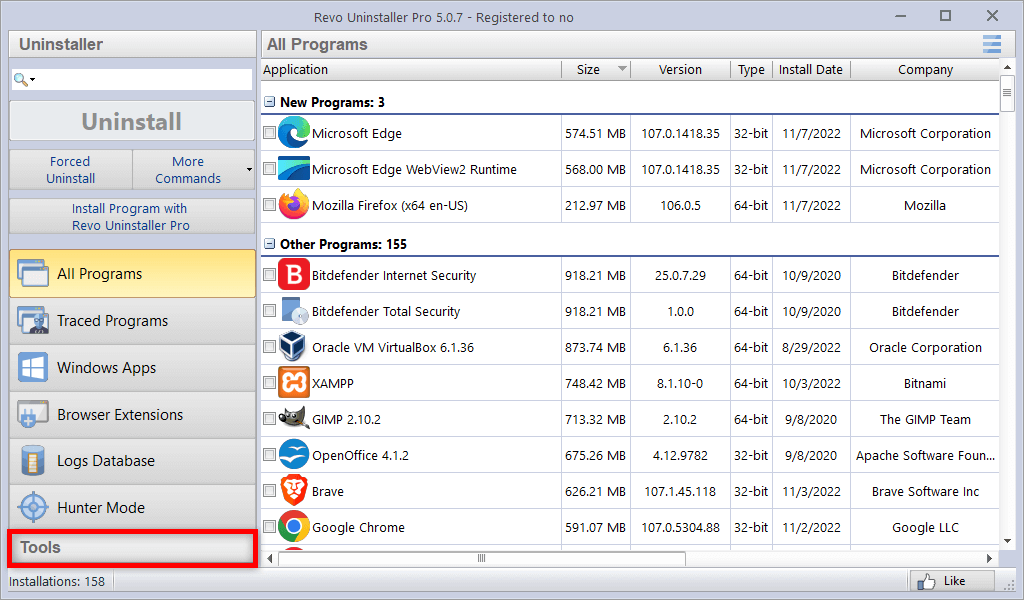
- Open Revo Uninstaller Pro
- Navigate to Tools
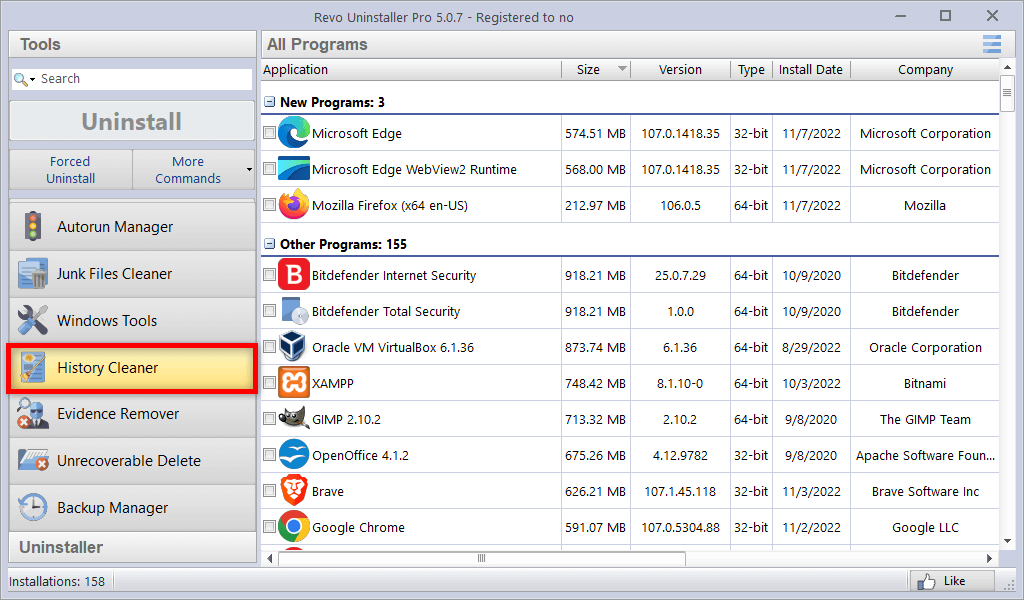
- Click on History Cleaner

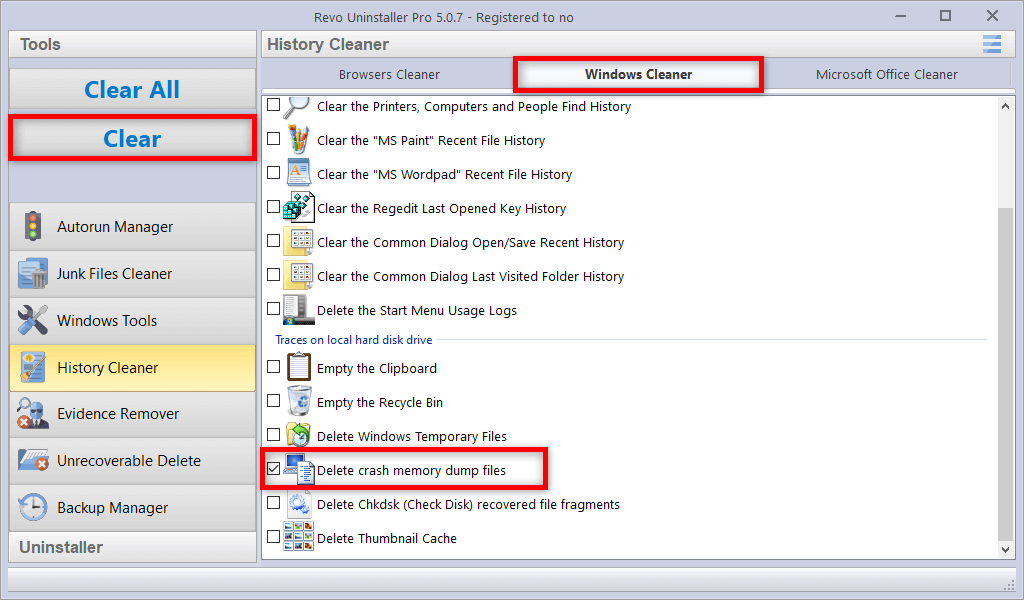
- Select Windows Cleaner
- Select “Delete crash memory dump files”
- Click Clear
Clean system error dump files with Disk Cleanup
- Open the Start Menu
- In the search bar type Disk Cleanup and click the top result to open it
- Select the drive you want to clean(the system error dump files are stored in C:)
- Check the System error memory dump files option and the System error minidump files option
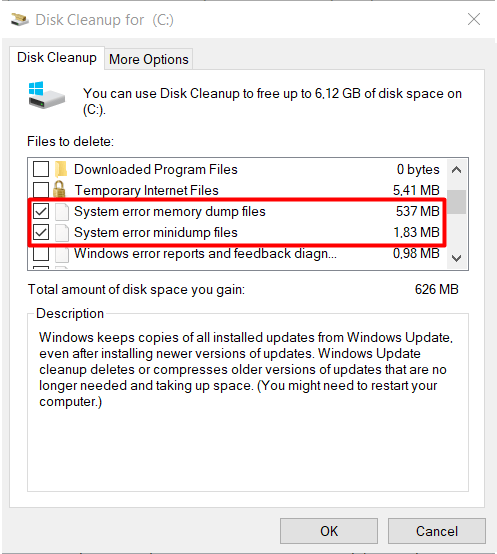

- Click the OK button
After the process is completed the memory dump and minidump files will be removed from your computer.
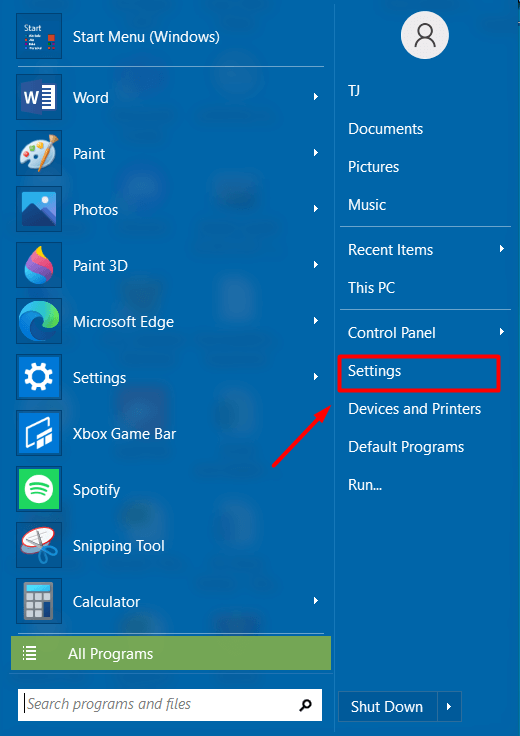
Remove system error dump files with Windows Settings
- Open the Start Menu and click PC Settings

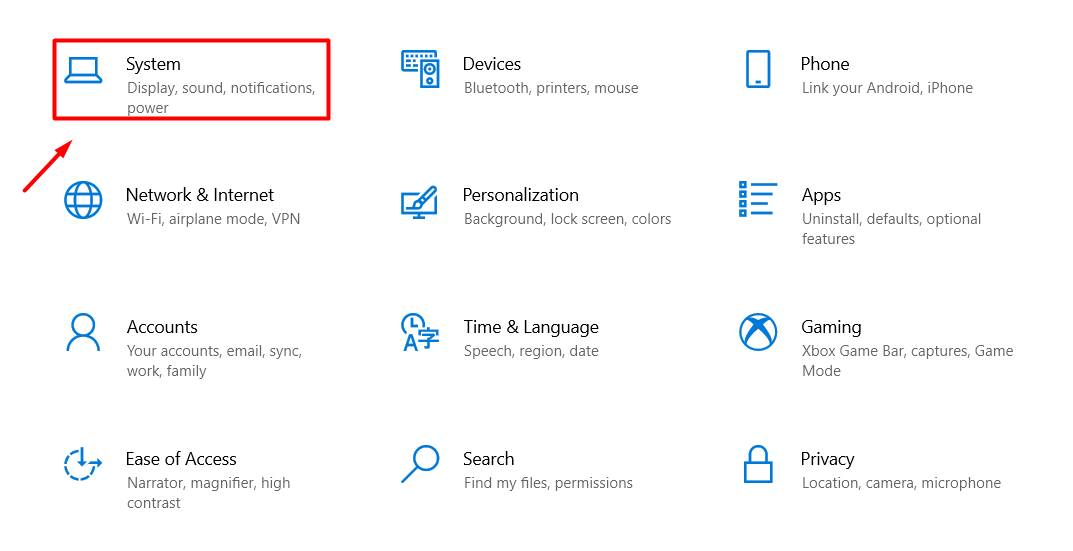
- Click on System

- Click on Storage
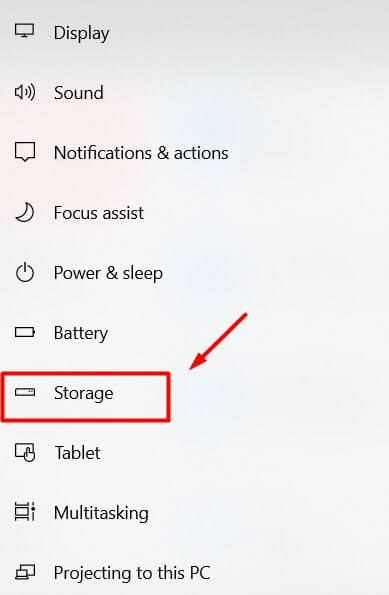

- In the Storage, section select Temporary Files
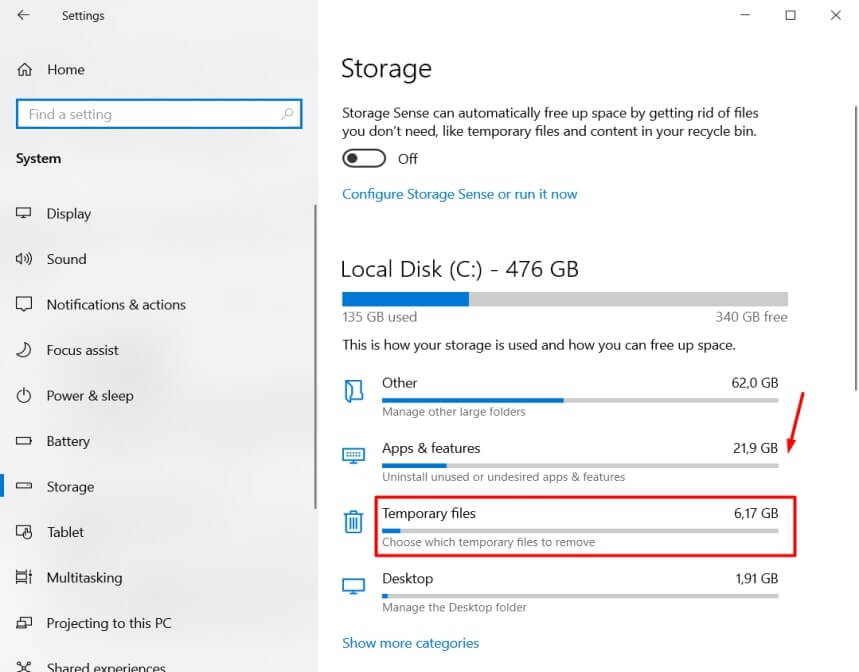

- Check the System error memory dump file option
- Again optionally you can check the System error minidump files option
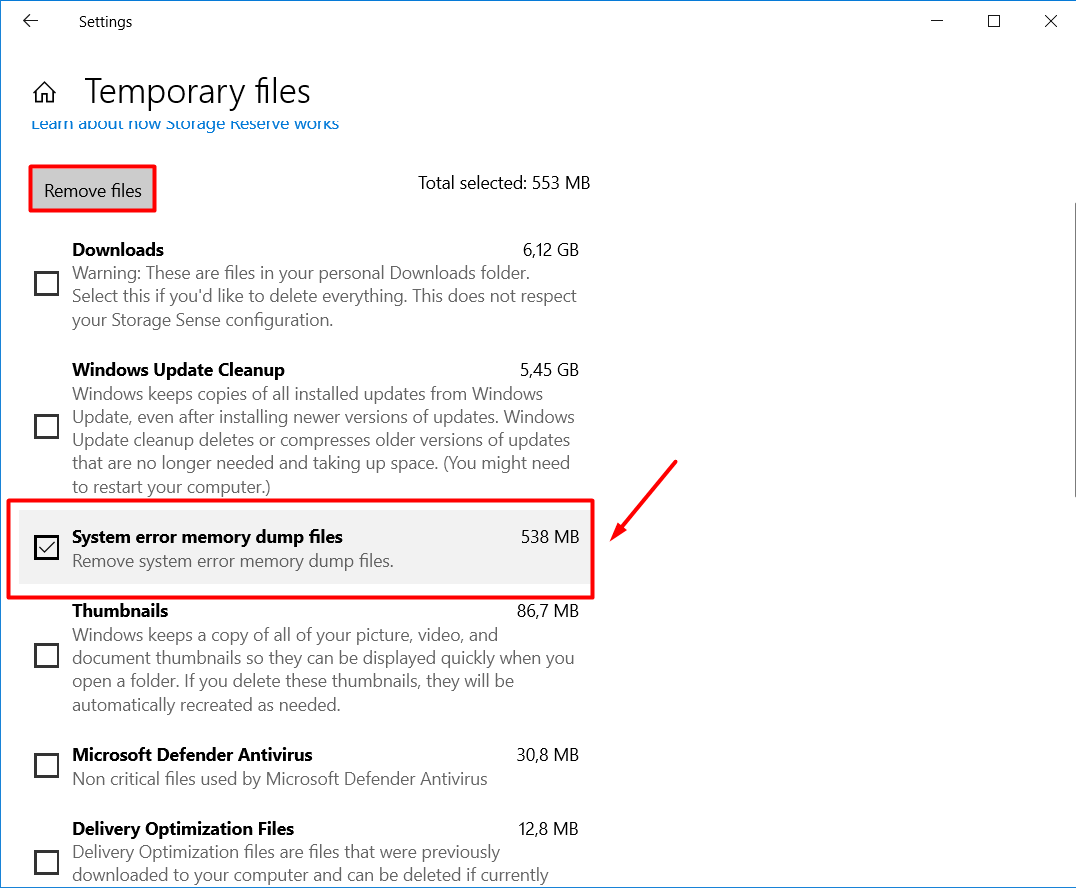

- Click the Remove files button
Erase system error dump files with Command Prompt
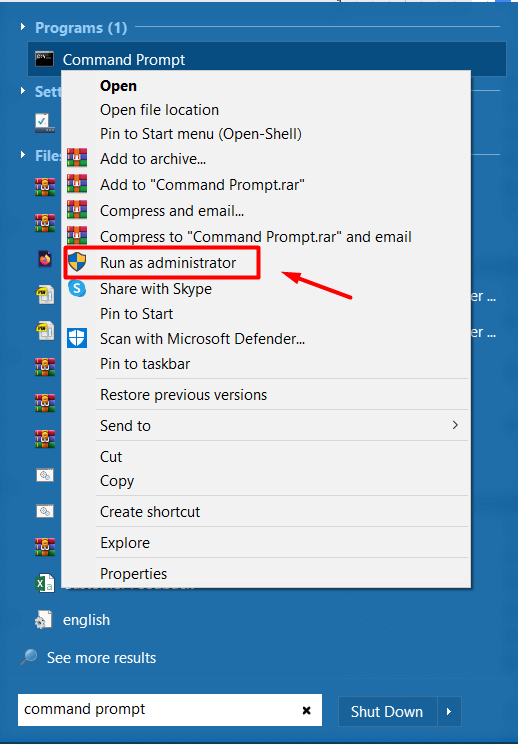
- Open the Start Menu
- Search for Command Prompt. Right-click the top result and select the Run as administrator option

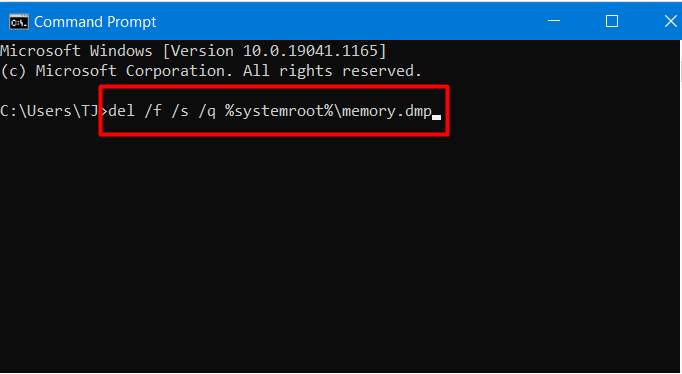
- Type the following commands in the windows and press Enter:
del /f /s /q %systemroot%\memory.dmp - To optionally delete the system error minidump files type this command and press Enter:
del /f /s /q %systemroot%\Minidump\*.*
Delete memory dump files from the File Location
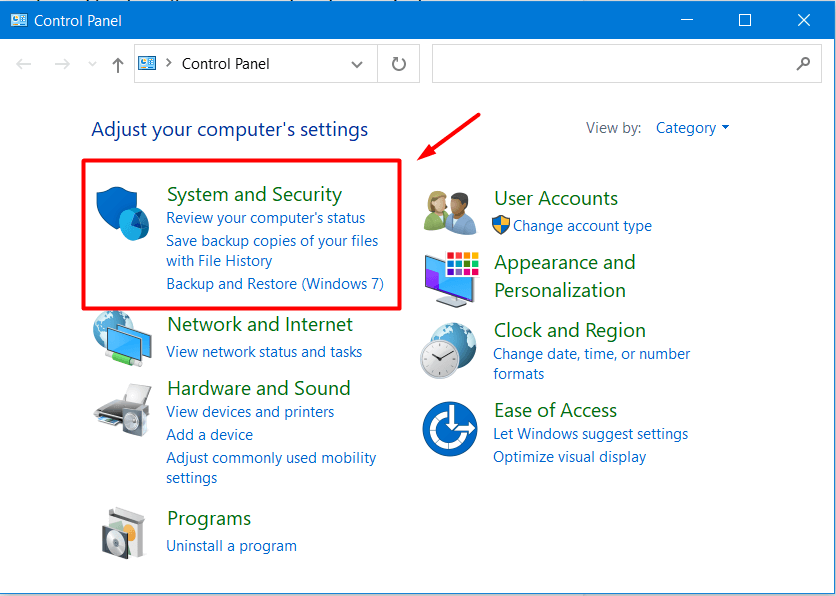
- Open the Start Menu and type Control Panel in the search bar
- Click the top result and navigate to System and Security

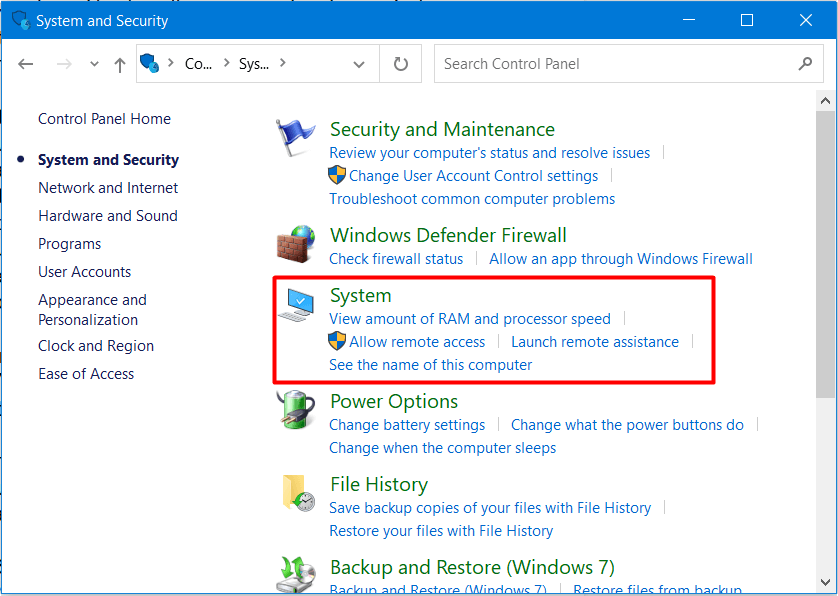
- Click the System category

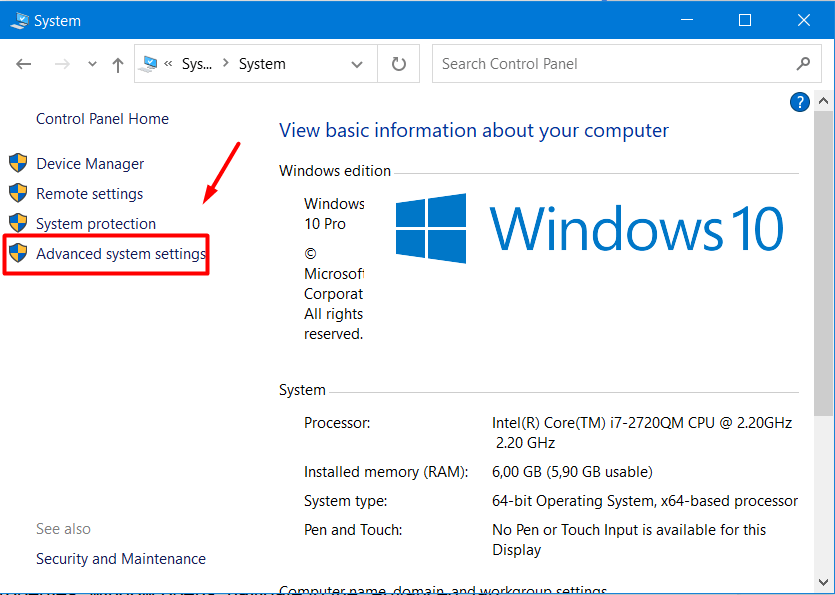
- Open the Advanced system settings

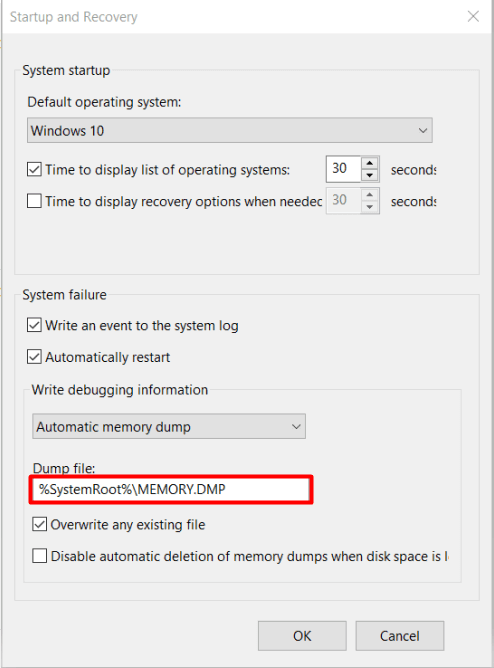
- Click the Settings button under Startup and Recovery


- Navigate to Write debugging information. Click on the drop-down menu and select a type of dump file. Now you can see where the files are stored.
- Copy the location of the dump file

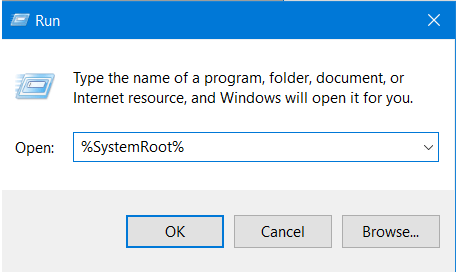
- Open Run by pressing Win Key + R and paste the dump file location and hit Enter
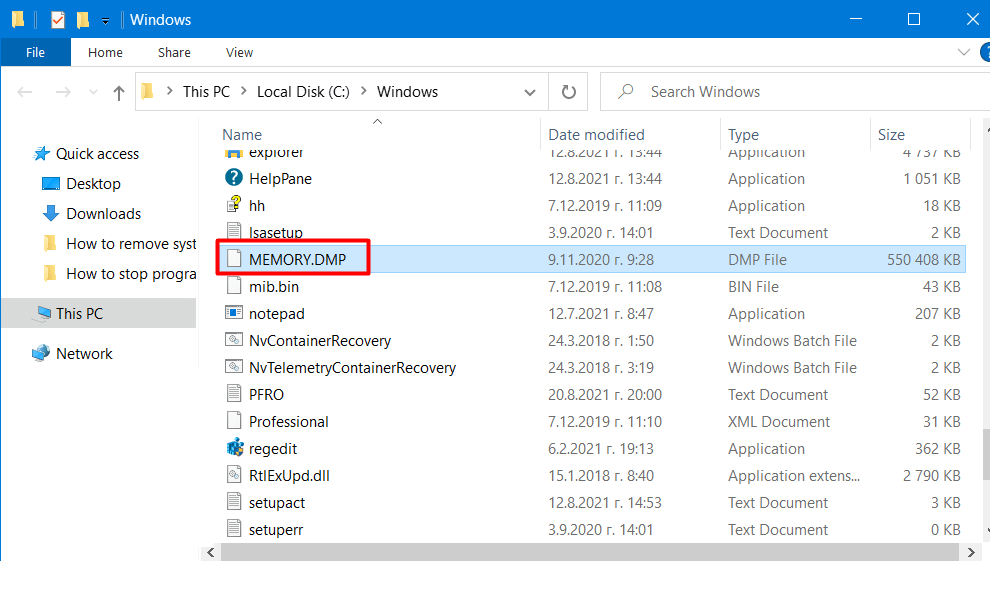
- Select the MEMORY.dmp file and delete it permanently

- Restart your computer and the dump files will be removed
Turn off Crash Dumps
- Open the Start Menu and in the search bar type Settings
- Click the top result and click on System
- Click the “About” option
- Under the “Related Settings” section, click on the “Advanced System Settings” option
- Once the “System Properties” window opens, navigate to the “Advanced” tab
- Click “Settings” under the “Startup and Recovery” section
- Under the “Write debugging information” section, use the drop-down menu and select the “(none)” option
Once you complete the process, the system will no longer store system error memory dump files. If you change your mind, you can always revert the settings.
Deleting your system error memory dump files can free up a lot of storage space. In case that your device did not run into any problems recently or you like to regularly clean your junk files, there is a good chance that there won’t be any dump files to delete. Products such as Revo Uninstaller Pro give you the convenience to clean your computer easily and quickly with a couple of clicks.
6 Comments
There is one thing that always puts me off pressing that button and that is the warnings about what you are about to do. It asks me if I really want to do it, which I do, but I feel if I do click it and I lose a lot of files or end up with a blue screen, I won’t be able to kick myself hard enough. What would be great is advice on clicking that button when you get asked if you REALLY want to do it.
Ein sehr hilfreicher Artikel. Leider musste ich erst Ihre Mail übersetzen, da ich kein englisch kann.
Ik kan niet alle Engelse woorden vertalen naar het Nederlands.
Also, you should mention that before delete them, send dump files to Microsoft is a good idea, because there are teams which review them and they try to investigate the cause and resolve it either through Windows Update or notify you about possible solution in Action Center
very helpful indeed ..too many junk fies and history
plus edivence remover …thank you REVO
what about how to fix non volatile memory is about full??