
Clearing your cache in Windows 10 can help you resolve some problems with your operating system.
First, let’s discover what cache is.
Windows cache plays the role of a high-speed storage mechanism. The cache storage can be either a reserved section of the main memory or a specific independent storage device. To be more precise Windows cache is a hardware or software element that is used to store data.
In computing, a cache is data that is stored locally in order to allow faster access to it when needed and/or to speed up load times by avoiding the need to perform a potentially intensive task every time, and instead performing once, and storing the information for later use.
An example of this would be your browser’s cache. During your Web surfing, your browser creates cached copies on your drive of all sorts of data. When you re-visit a website, your browser can use the cached files to load it faster, as access to your local drive is quicker than downloading the same data from the Internet, especially if the website and/or if your Internet connection is slow. In such cases using cached data can be beneficial for users who have data caps from their ISP.
Another example would be the icon cache that Windows creates. Each executable has its set of icons built-in. Windows creates its own cache of all icons and pre-loads it on startup to avoid reading each executable file’s icon separately every time.
Why do you need to clear the Windows 10 system cache?
Now that you have an idea what cache is, you need to know why you need to clear it.
There are two main reasons for that: freeing up disk space and resolving issues that have arisen due to outdated or corrupt cache data.
Freeing up disk space may seem trivial and not necessary to be performed frequently, and to an extent that is true. However, remember that if you are using an SSD, it is a good idea to keep the free space on it as high as possible, as that can improve the drive’s performance and lifespan. That is why you should still consider deleting certain temporary/cached files occasionally.
Since certain caches can become corrupt (e.g. the Windows icon cache) or outdated (e.g. browser cache), sometimes they would need to be cleared/deleted to fix certain problems, like missing/blank icons in Windows or certain websites not functioning properly.
How to clear the Windows 10 cache?
There are several types of cache, and they are located in different places on your machine. The different cache types are deleted using different tools/methods. In this article, we will explain how you can do that.
Revo Uninstaller Pro has several tools that can help you to accomplish these tasks.
The different types of cache to be cleared:
- Browser cache
- Windows temporary files
- Windows Store cache
- Windows/File Explorer cache
- System Restores cache
- DNS Cache
- How to Clear the ARP Cache in Windows 10
Clear the browser cache with Revo Uninstaller Pro
Revo Uninstaller Pro has a dedicated tool – named Browsers Cleaner – for deleting various browser-related data, and it supports the following browsers: Internet Explorer, Edge, Mozilla Firefox, Google Chrome, and Opera.
- Open Revo Uninstaller Pro, and click Tools.
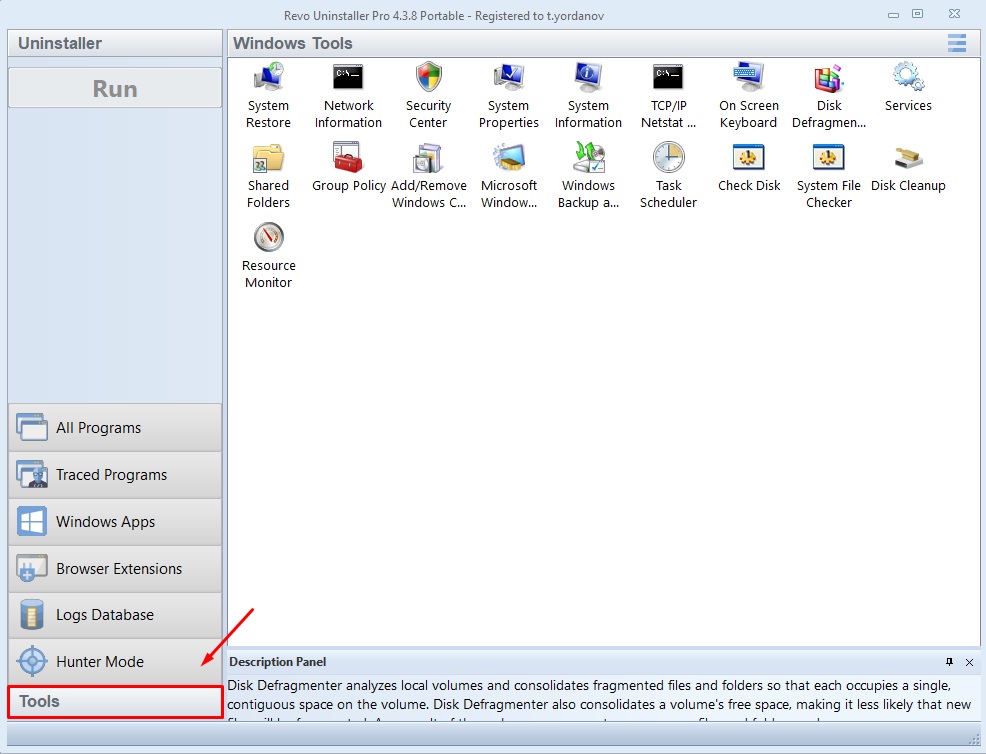

- Click History Cleaner.
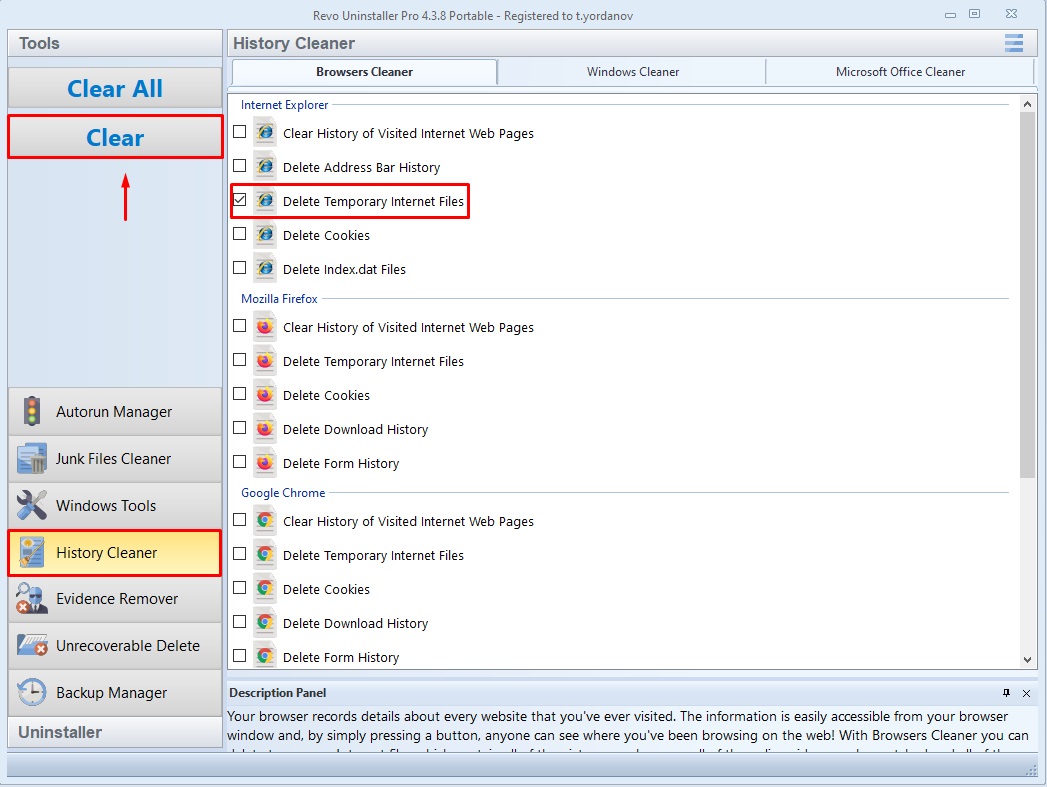
- Check “Delete Temporary Internet files” for all browsers whose cache you wish to delete, and click Clear.
Clear browser cache via the built-in browser options
When you enter a website, some cached files will be created and stored on your computer. Your browser has its own tool to remove that stored cached data. How to delete cache in browser?
Google Chrome
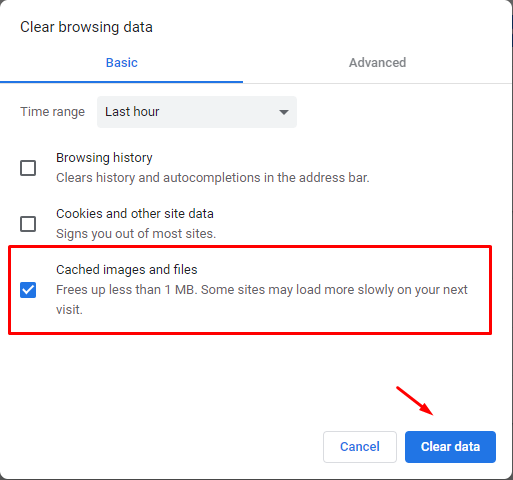
- Open Chrome, click the three-dot icon, then click More tools > Clear browsing data.
- Set the Time range to All time, check Cached images and files, and click the Clear data button to clear the entire browser cache. Of course, you can choose other items, in addition to the cache, if you wish.
Mozilla Firefox
- Open Firefox, and in the upper right corner click the “tree lines” button, then click Options.
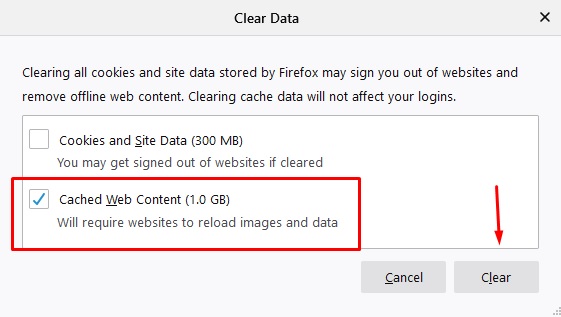
- Click Privacy and Security, and scroll down to “Cookies and Site Data”. Click Clear Data….
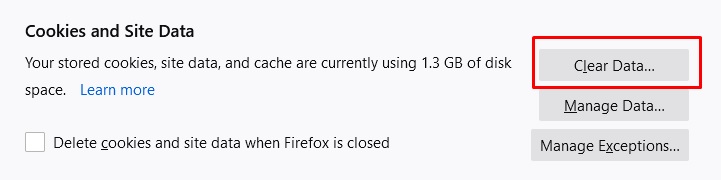
- Select Cached Web Content, and click Clear.
Microsoft Edge
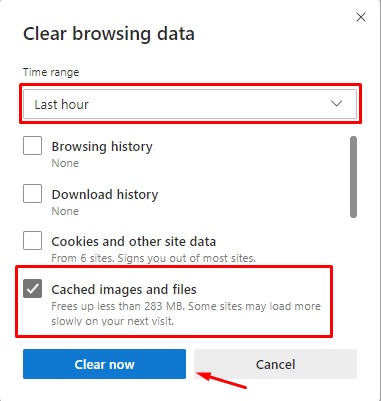
- Open Microsoft Edge, and press the combination of buttons Ctrl + Shift + Delete. The “Clean browsing data” windows will appear. Select the time range from the drop-down menu, check Cached images and files, and click Clear now.
Opera
- Open Opera, and press Ctrl+H to open your history page.
- Click Clear browsing data in the top-right corner.
- Select the time range from the drop-down menu, check Cached image and files (and any other items you wish), and click Clear data.
Clear Windows temporary files with the Disk Cleanup Utility
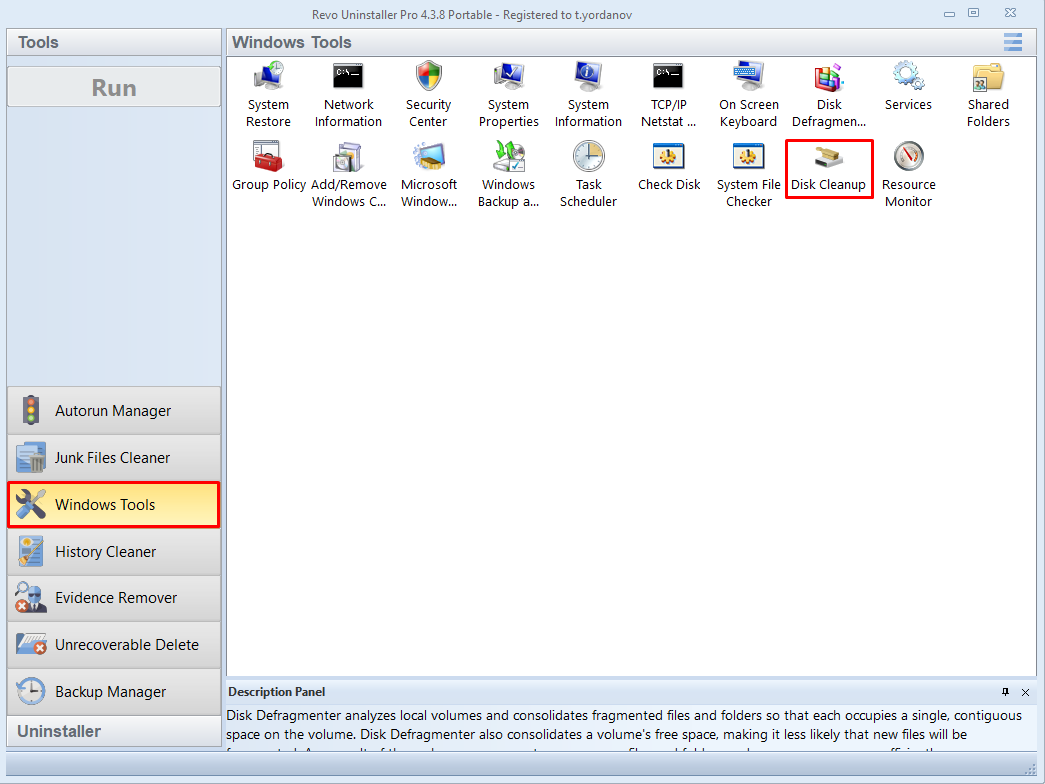
- Start Revo Uninstaller Pro, click Tools, then click Windows tools and finally double-click Disk Cleanup.
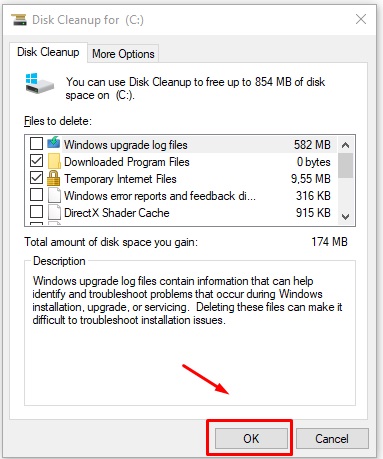
Alternatively, you can access the Disk Cleanup feature by opening the Windows Start Menu (for Windows 10 you can press Win+S on your keyboard) and search for Disk Cleanup. - In the pop-up window select the drive you want to clean up from the drop-down menu and click OK.

- Be patient while the tool finishes scanning the drive. You need to check the items you wish to delete and click OK.
If you wish to be able to delete system files/cache (in addition to user files/cache), click Clean up system files before selecting any items. This will re-scan the drive, this time including system data.

Remove the Windows Store Cache
- Press the Win+R on your keyboard to open the Run window.
- Type “wsreset.exe” (without quotation marks), and press Enter (or click OK).
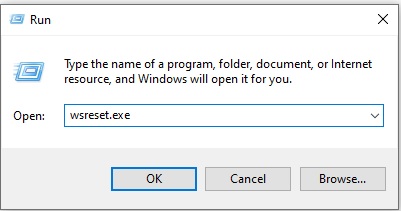
- Wait for the process to finish. The Windows Store will appear once the procedure is complete.
Clear cache in File Explorer
Some of the caches related to Windows Explorer (also known as File Explorer), can be deleted easily, whereas others require slightly more advanced methods.
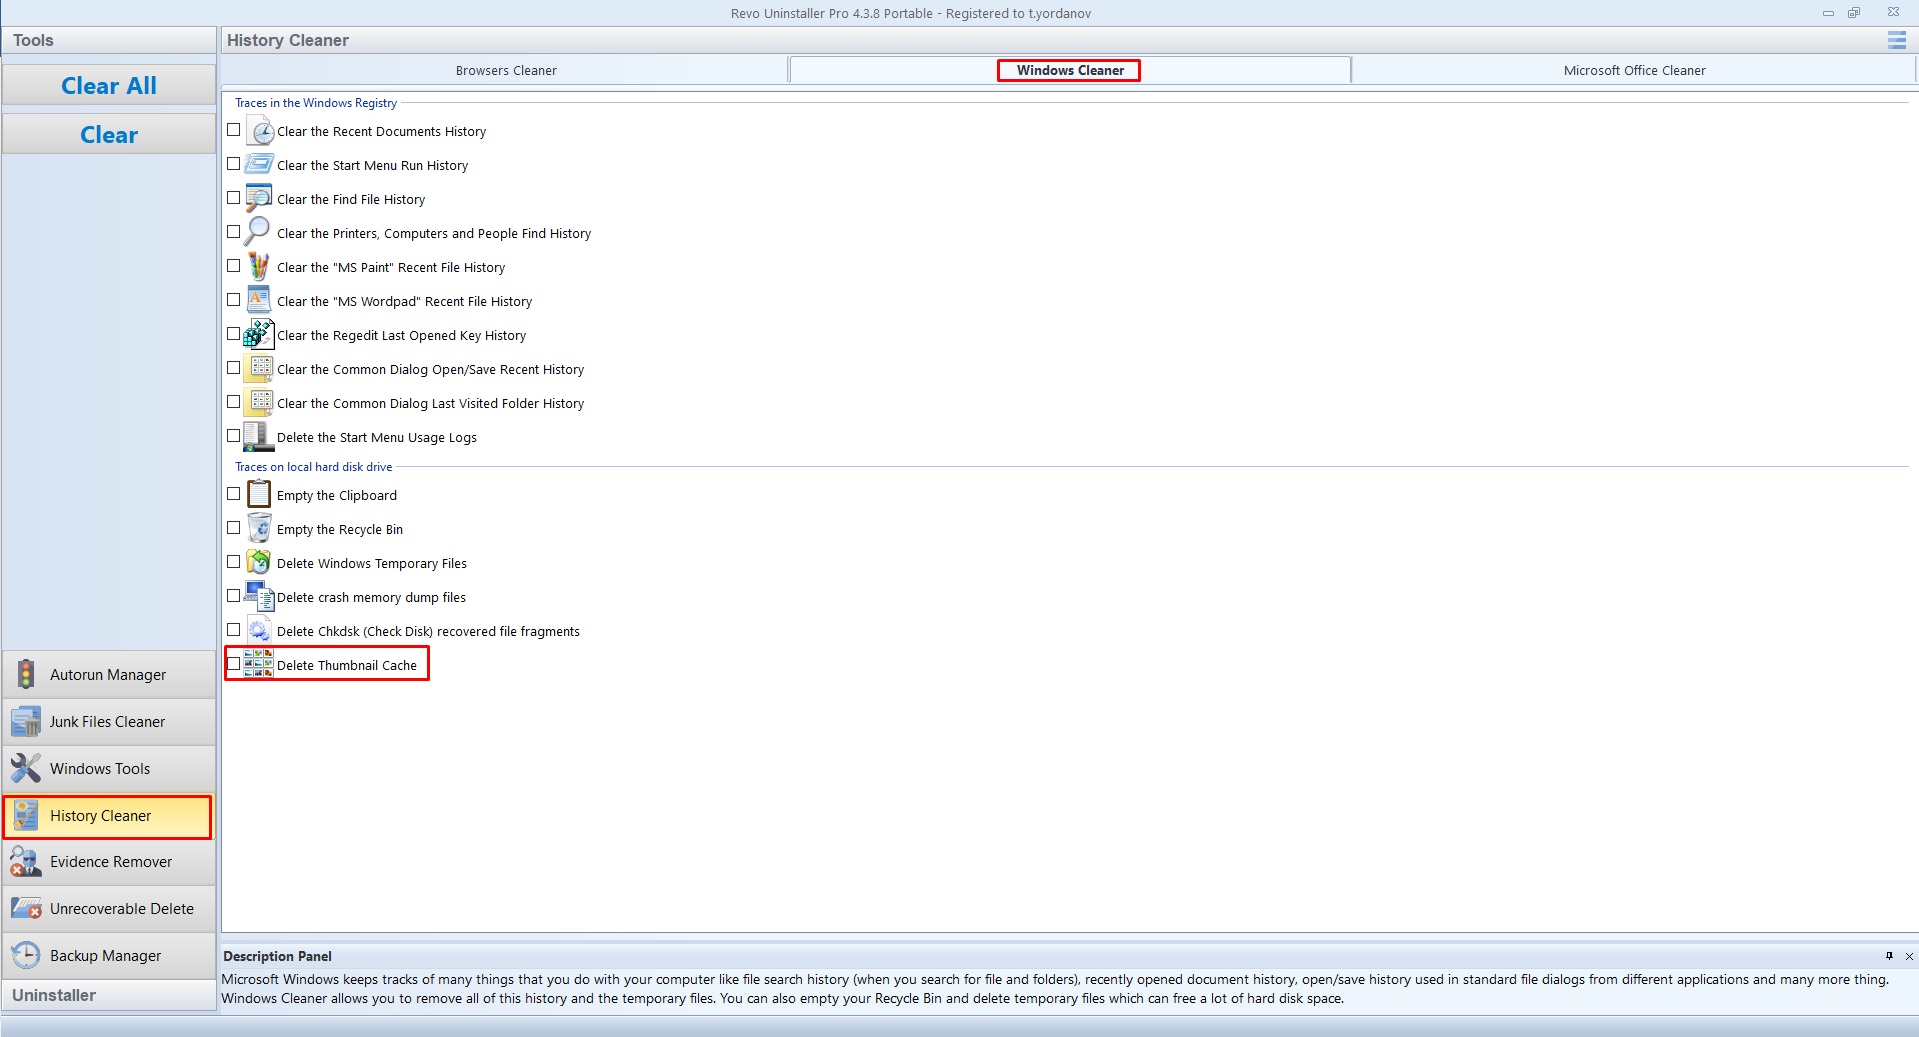
- Windows thumbnail cache: To clear the Windows thumbnail cache, open Revo Uninstaller Pro, click Tools, click History Cleaner, and then click Windows Cleaner. Check Delete Thumbnail Cache, and click Clear.
- Windows icon cache: The icon cache cannot be deleted directly, as it is used actively by Windows Explorer and – thus – locked. We have created a CMD script file that will simplify the process.
Warning: make sure to save all your work and documents before you execute the script.
Download the file to a convenient location, right-click it, and select Run as administrator. This will forcibly close Windows Explorer, delete the cache files, and then relaunch Windows Explorer. Your other programs should not be affected/closed, however, we recommended that all documents should be saved beforehand as a precaution.
Reboot your computer to complete the rebuilding of the icon cache. - Windows update cache: This is another cache that is locked and requires a different approach. Again, we have provided a CMD script file that will simplify the procedure. Download the file to a convenient location, right-click it, and select Run as administrator. This will stop the Windows Update service, delete the directory containing the cache, and re-start the Windows Update service. Rebooting your device is recommended but not mandatory.
- File Explorer history: File Explorer also keeps its own history of all recently opened files and performed searches. These can be considered privacy concerns if you are sharing your computer with another person. To clear said history, open File Explorer, click the View tab, then click Options in the ribbon, and finally click Clear in the newly opened window.
Clear System Restore cache on Windows 10
System Restore is a feature built-in Windows for creating snapshots of vital Registry entries and files so that in case of an issue users can use a previously created restore point to return their computer to an earlier state. Thus, it is considered a good idea to create restore points before installing Windows updates, drivers, or more complex programs.
You are allowed to set the maximum disk space used for system protection. When the allocated space starts running out, you might need to delete older restore points to create room for new ones. You can follow the below instructions to clear your system restore cache:
- In the search field in the Taskbar type “Create a restore point” (without quotation marks), and click the found result.
- From the list of drives select the system one, and click Configure.
- In the new window, click Delete.
This operation will delete all restore points for the drive.
Clear the DNS cache
If you are experiencing problems loading a website, sometimes that could be to a corrupt or outdated DNS record on your device. If this is the cause, then clearing the DNS cache would be the solution, and it is a rather simple operation.
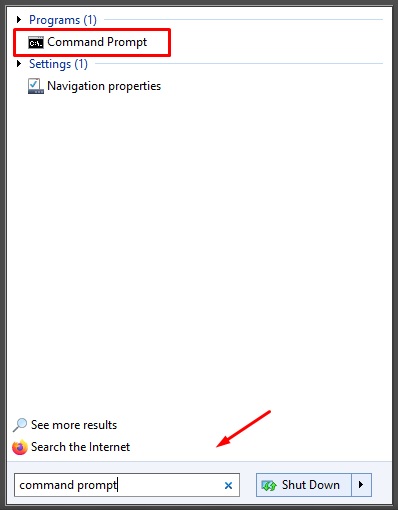
- Open the Start Menu, and in the search bar type “cmd” (without quotation marks), and launch the found program.
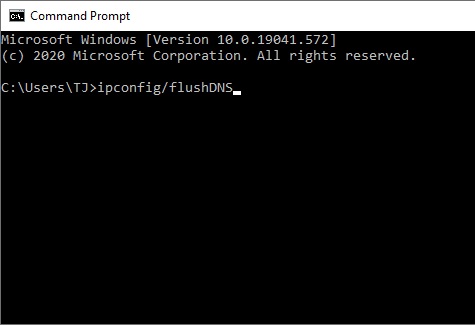
- When the Command prompt window appears, type “ipconfig /flushdns” (without quotation marks), and press Enter.
How to Clear the ARP Cache in Windows 10
- Type
cmdin the Windows start bar, then right-click on the command prompt and select Run as administrator. - Open a command prompt with elevated privileges.
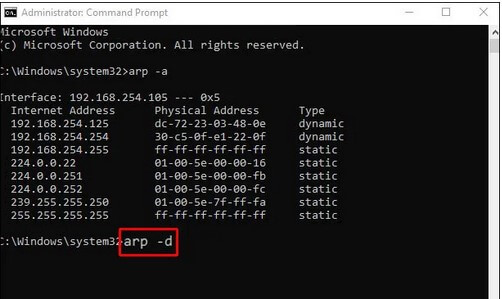
- To examine the ARP cache, type in
arp -a
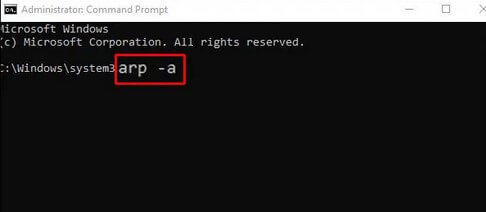
- To clear the ARP cache, type
arp -d. The -a parameter causes the program to show the ARP cache, whereas the -d flag causes it to delete it.
There are various ways to clear your Windows cache and Revo Uninstaller is one of the tools that helps you with most of your Windows cache issues. Clearing your cache can be helpful in many situations, but if you are experiencing low PC performance and clearing your Windows cache does not solve them, then maybe you need to check your system performance and investigate what is the cause.
No Comments